The ultimate guide to enjoying wet, winter and night riding in the PNW
Updated October 25, 2022.
We live in one of the best places for year-round riding... if you know how to dress and where to ride. It doesn't rain hard here, but it does rain freakishly often during the wet season, which is half the year.
Contents
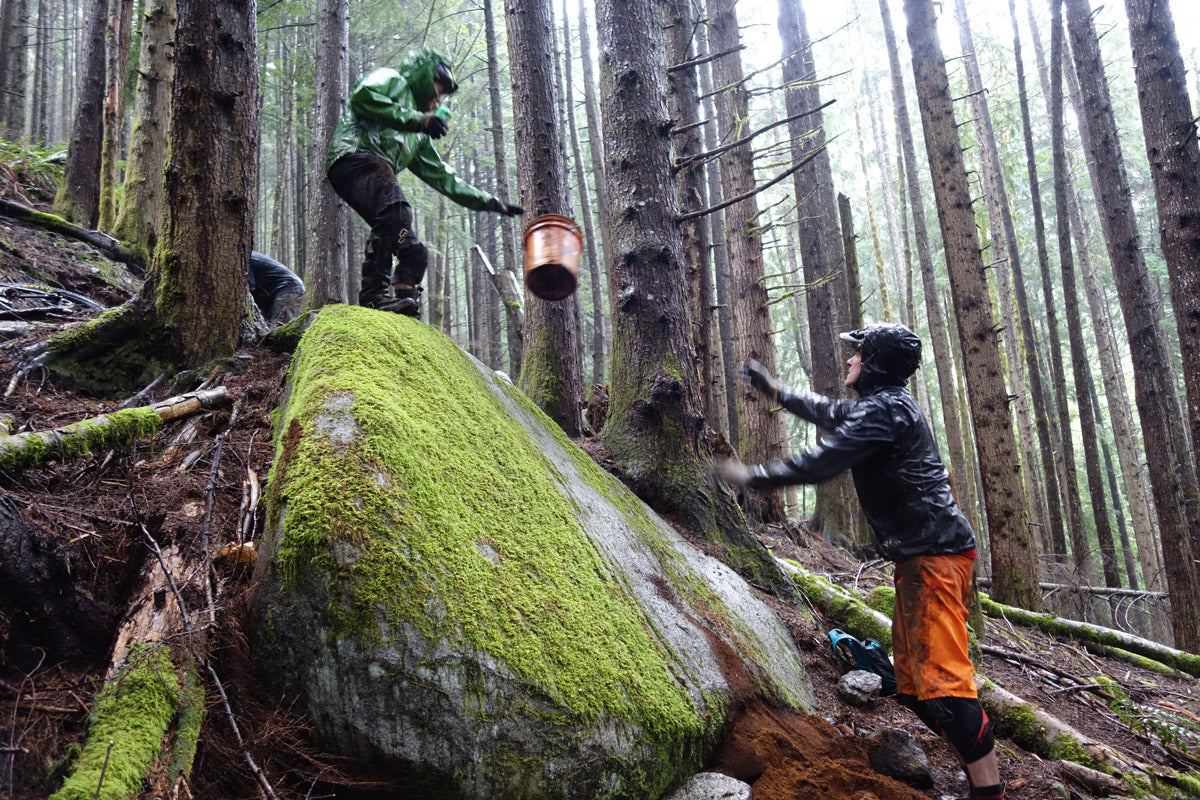
Let me start by saying, it's trail building season! Trail work is what I prefer to do when the weather is dismal. The community of trail builders is second to none and you'll find it's one heckuva party in the woods. Jump over to Evergreen, WMBC, NW Trail Alliance or your local trail association and discover the unique joy of throwing dirt in the winter.
How to Dress for Wet Weather Riding in the PNW
Year-round riding is fantastic here, but you need to know how to dress to enjoy it. You'll be balancing being hot and sweaty when climbing, getting damp from rain, and cold wind on descents. Don't try to stay dry, focus on staying comfortable.
Head
You'll want an ear or head covering in your winter kit. If you've got a good amount if hair a thin ear band is the ticket. If you have less natural insulation on top, a thin cycling specific skull cap that you can wear under your helmet is what you want.
Hands
Warm, breathable gloves are essential for riding when it's below 40F or raining. I've tried what seems like a million waterproof gloves, and they just don't work. You get wet from sweat, and hands get cold. I've settled on bringing multiple pair of breathable, insulated gloves like the 100% Brisker (but NOT the waterproof Hydromatic version). They breathe well so you don't wet them from the inside, and the palms aren't thick so you keep your bar feel.
When it's cold or wet, bring two pair of gloves. If I'm using insulated gloves I might bring some standard MTB gloves to switch into once I start to sweat. On cool days that aren't frigid I'll bring two pair of standard full finger gloves and switch into a dry pair half way through the ride or before descending. Putting on dry gloves mid-ride is pure bliss!
A next-level trick for keeping hands warm is to ditch the aluminum levers and switch to carbon fiber or plastic. More on that below.
Torso
For merely cool rides, I just put an extra thin layer, stash my windbreaker vest in my hip pack and hit the trails. When the weather gets colder, wetter and more variable is when a bit of planning pays off.
I rarely ride in a waterproof "breathable" Gore-Tex style jacket. If I do, it goes in the pack as soon as I'm warmed up and I pull it back out for longer descents. They can't breathe enough for our long, slow climbs, and you'll quickly get soaked in sweat. For most of us, save your money and skip the fancy jacket. The exception is when you're deep in the backcountry and a waterproof jacket is a good emergency tool if things go sideways.
Instead, layer up with a thin base layer with one or two thin layers on top of that. Merino and polyester are the materials to use, more on that below.
Even in light rain I prefer a polyester-merino layer system to a clammy-ass jacket. On longer rides, putting a dry merino shirt on at the summit can keep your comfy. More on the benefits of merino, below.
You will want some protection from the wind. Wind is what makes you cold, much more than temperature alone. But it's a battle finding wind protection that is breathable enough, which is why waterproof jackets don't work well. My go to is an ultra-light and ultra-packable windbreaker vest, which is perfect for the slower tech trails I tend to ride in the wet season. For long, fast descents, such as Olallie or Raging Ridge, a breathable windbreaker jacket is good option to keep your arms warm.
Merino Wool is the Answer
Merino wool is amazingly soft and luxurious. Unlike polyester, it insulates when wet and never feels clammy. It also never stinks. If you haven't tried it, you should, it's like magic. It's downside is it doesn't dry as fast as polyester if you're a heavy sweat machine, but there's a solution to that problem.
I pedal hard and sweat a lot, so my current go-to is an ultra-thin, ultra-fast drying polyester base layer such as Patagonia Capilene with a thin layer of merino wool over that. If you're riding below the ultra-sweaty threshold, just using thin merino layers is fantastic.
Unless I'm really sweating it out in damp conditions I'll use merino as my next to skin layer year-round. Thin layers dry faster, and are easier to modulate as you layer up or strip down when warm.
The other downside to merino is that it's less abrasion resistant. Buy merino that has a nylon core for strength. This material is usually 11% nylon and 89% merino, and lasts three times as long as 100% merino for me (I'm hard on gear). A poly jersey as a cheaper, durable top layer is also good when you plan to be crashing a lot.
| Polyester Pros | Polyester Cons |
|
Cheaper, dries fast, durable |
Cold and clammy when wet unless it's ultra thin, gets the perma-funk |
| Merino Pros | Merino Cons |
| Warm when wet, doesn't feel clammy, never stinks | Cost, prone to getting holes and snags if 100% wool, dries slower than poly |
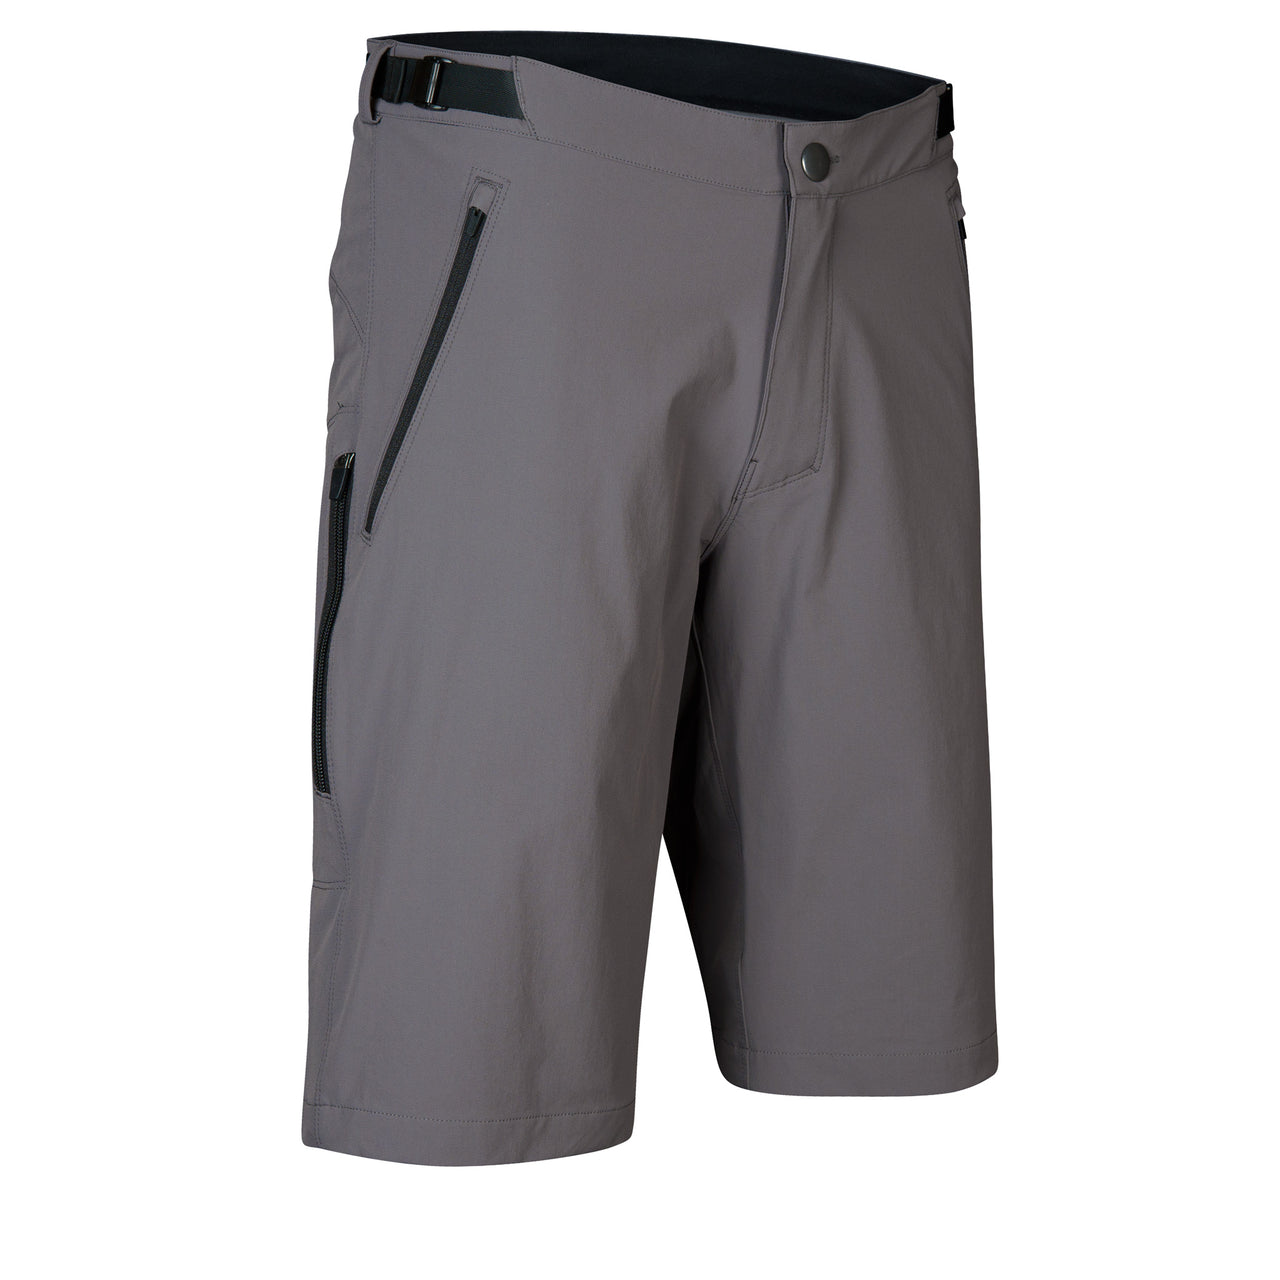
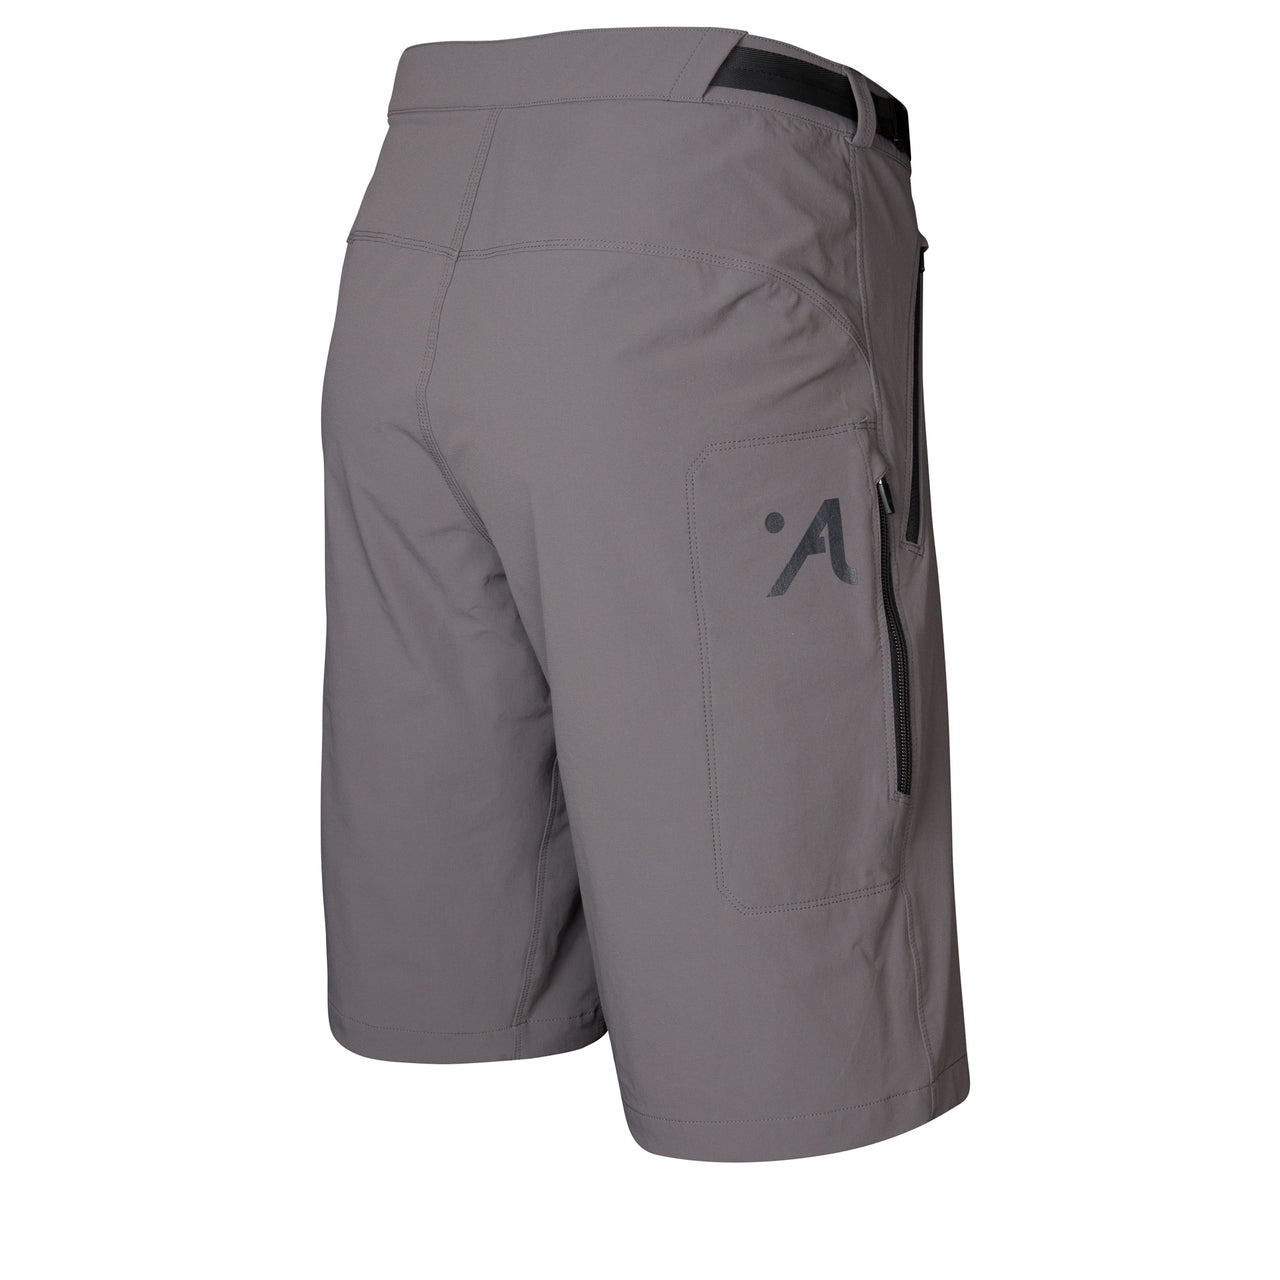
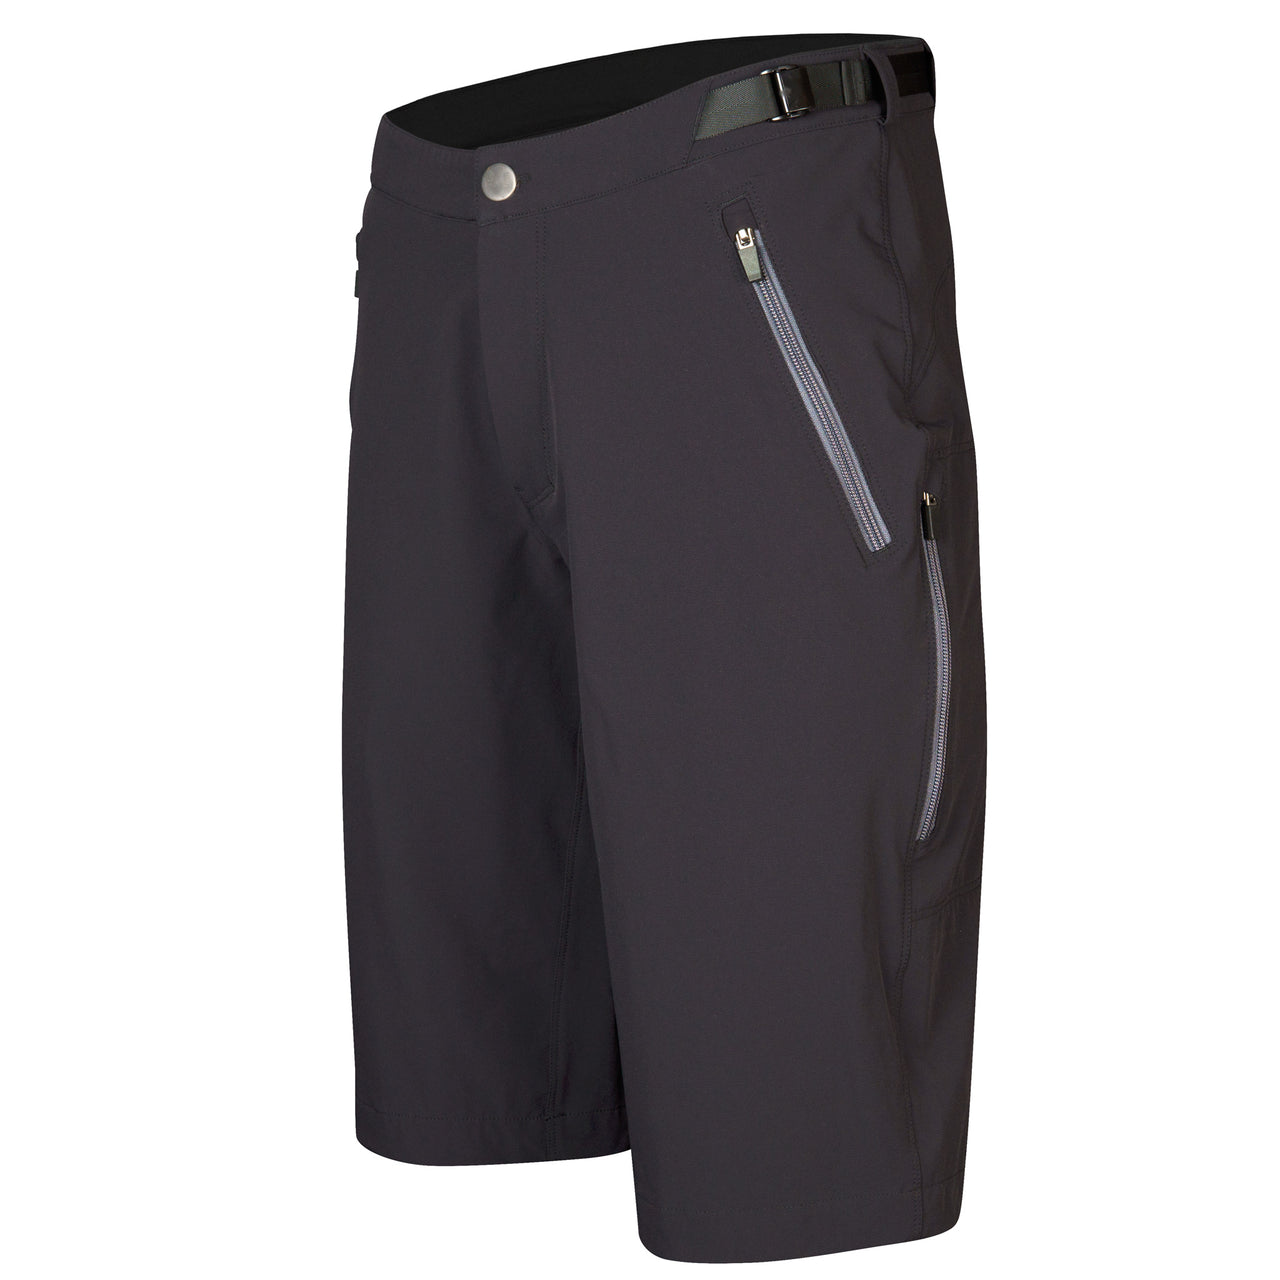
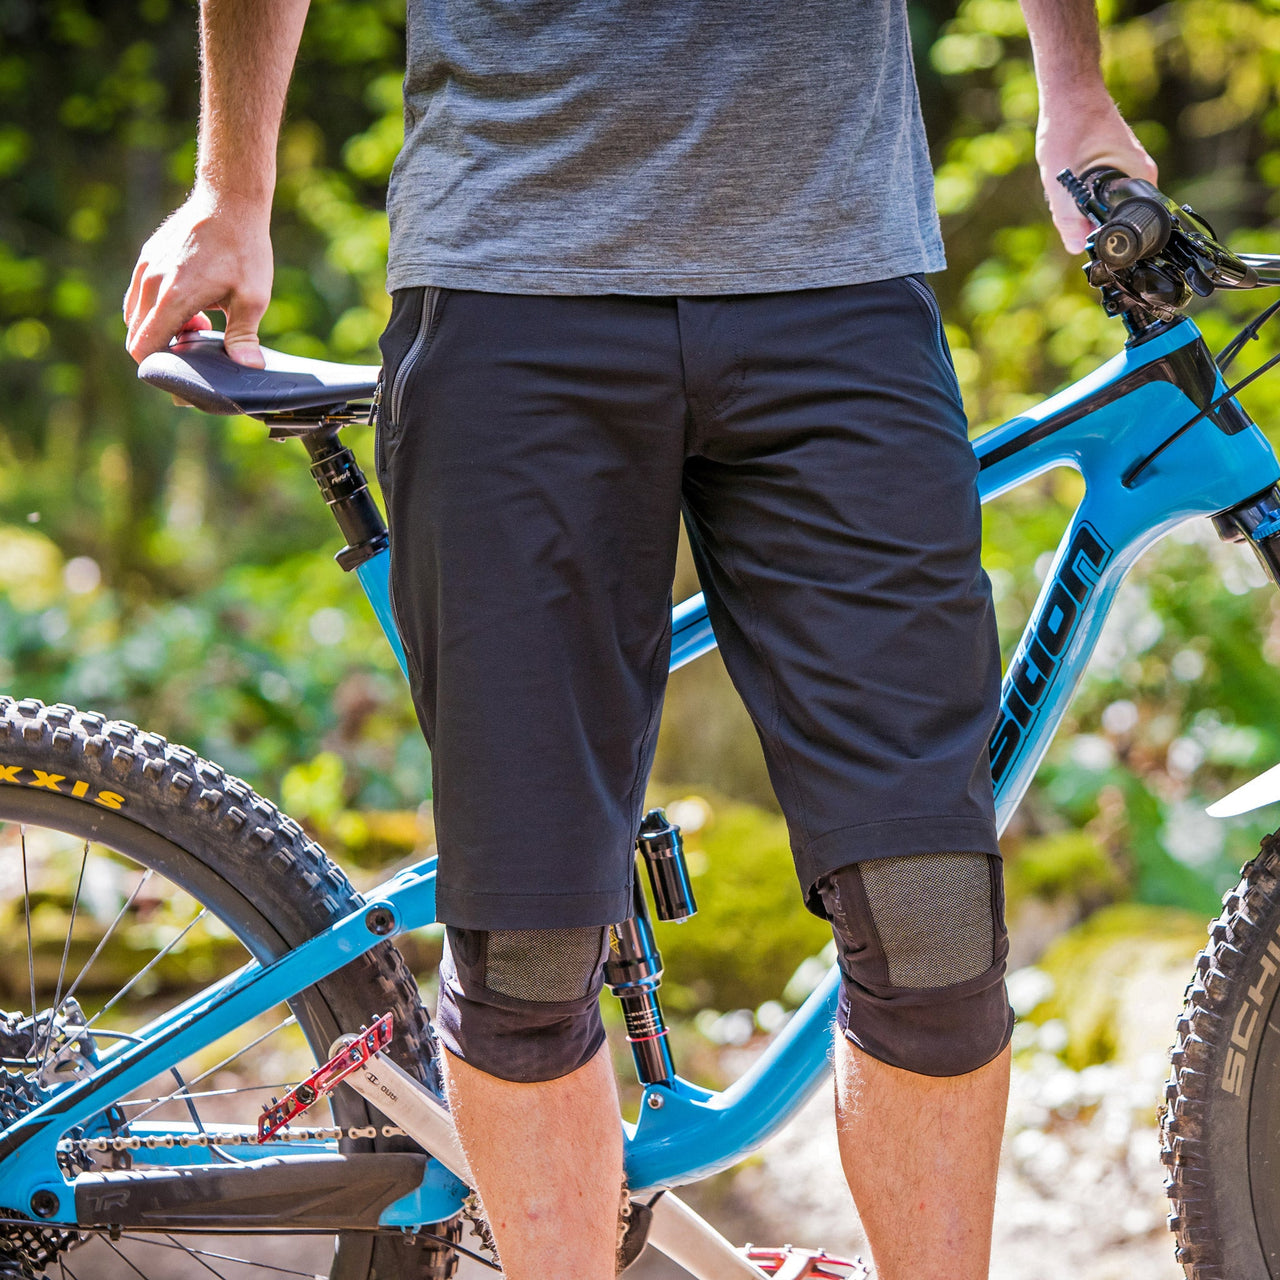
Shorts and Pants
If it's cool and dry, I ride in my great fitting Abit Gear shorts that have a DWR (water repellent) finish to shed mist and spray. Underneath I use an ultra thin chamois and knee pads that are comfortable to pedal in.
Lots of riders are wearing MTB pants these days. Yes, we're working on pants designs.
For underwear, I avoid thick chamois pads when I know I'm going to get wet, they hold too much moisture and feel like a gross, wet diaper.
When sloppy and wet, partially waterproof shorts or pants are fantastic. I prefer shorts with a waterproof rear and breathable front like the Endura MT500 Spray. They keep the brown stripe from soaking through, and have some stretch. Fully waterproof shorts and pants are just too clammy and stiff.
Feet
Again, wool is your friend. Don't ride in fully synthetic socks. Just don't. Wear slightly thicker wool socks such as the Woolie Boolie. I've found 25 - 50% merino is the perfect balance of warm-when-wet and fast-drying. Make sure your shoes aren't too tight as that will cut off circulation and cause frozen feet.
You'll want some method of keeping your feet dry from splashes, and either waterproof shoes or waterproof socks work well. However, if it's dry and cold, waterproof shoes and socks will make your feet colder than normal shoes since they hold more sweat.
If you clip in there are solid options for warm and/or waterproof shoes like those made by Lake. You can also try shoe covers, both thin waterproof and neoprene are common. Back in the day when I clipped in more I used these, but I tended to destroy them pretty quickly.
One note about clipping in for those who suffer from cold feet: during sub-freezing temps the metal cleat can suck the heat out of your feet, so consider plastic flat pedals or high-end winter clip-in boots.
Five.Ten finally launched their TrailCross GTX waterproof flat pedal shoe! I'm running a pair and they're excellent (I'll be doing a review/comparison soon). The toe boxes are wide and they run roomier than the Five.Ten Freerider Pro, so you may want to size down - definitely try before you buy. I have to run thicker insoles in them to take up room.
Waterproof socks are another great way to go. Look at Sealskinz or Showers Pass socks. You'll need to make sure your shoes are slightly oversized to stuff an extra layer of sock in them.
Just like with brake levers, you can go to (affordable!) composite plastic pedals instead of aluminum, which will help keep your warmer. See below more details.
Get a Boot Dryer
You'll thank me for this one. Dry your shoes, boots, gloves and knee pads in a couple hours with gentle heat. Throwing this gear in the dryer ruins the silicon grippy bits. Never put on soggy, clammy, gross shoes or pads again!

Boot dryer from DryGuy. I've been using this for 10+ years and love it. Bonus, they're a local Seattle company.
Bottom Line
We're all a bit different, so use this as a starting point and play around to find what works best for your body and how you ride. Get it dialed and you'll love winter riding!
Where to Mountain Bike in the Seattle Area in the Winter and When it's Wet
We've got some of the best dirt in the world around here, and some of the best trail builders. The glacial till (gold, baby!) we have in abundance makes for excellent winter riding if the trails are well designed. That said, not every trail can handle wet riding. If your favorite trail has lots of clay, you need to stay off until it firms back up. As a rule, if riding leaves a rut, stay off that trail.
Riding frozen trails is good fun. But be aware that damage can happen when frozen trails thaw out and turn to peanut butter. Stay off trails with frost heave until they have several days to settle and firm back up. Frost heave is worse in open areas with no tree cover due to radiant cooling, so keep that in mind when choosing whether to ride during a thaw cycle.

Frost heave in exposed trail. OK to ride when frozen solid, but avoid when it's thawing and mushy.
I'm going to focus on Seattle area rides, since I've built a lot of trails in the area and that's what I know best. But I've done a lot of wet riding in Whistler, Squamish, North Vancouver and beyond, and many of their trails are also excellent wet rides. The key is to identify which trails won't be damaged when ridden wet.

Even when the radar looks like this, the trails at Tokul East drain out fast - rider John Chelico.
Most Seattle area trails are built to handle wet weather riding without damage. Just give them a day to drain and you'll be good to go. But if you don't want to wait, or you hate puddles, ride Tokul East.
Tokul
Tokul East and Tokul West are the best places to ride when other spots are too wet or snowy. (Rec pass required). With a top elevation of 1000 feet the trails are rarely snowed out. Tokul's soils are gravely and drain well, so there are few puddles and hardly any mud. I helped build a number of the trails there (HLC represent!), and we designed them specifically for wet weather. The flip side to trails that are amazing in the wet is that they get loose and blown out in the summer.
Tokul East takes the nod for the best zone when it's really wet. The trails can handle it, and don't have many puddles even when it's raining. This is your go-to zone when everything else is miserable. But please, if it's super busy respect the neighbors and don't park like an asshole.

Our recommended Tokul East wet weather route on TrailForks.
Other Wet Weather Puget Sound Trails
The best options are listed first.
360 Trails: Drains well and rides great in the rain. Like Tokul, 360 runs better when wet than when dry.
Black Diamond Open Space (BDOS): Another system with good soils and low elevation.
Chuckanut: The trails here are rockier than Galbraith, and can handle riders when the ground it saturated and it's best to travel light on Galbraith. Gotta love your wet roots for this one!
Fort Ebey: Also hiding in the rain shadow on Whidbey Island, an xc system with well draining gravel soils.
Anacortes Community Forest Land (ACFL): Often in the Olympic rain shadow and rocky. Good, punchy xc riding in the winter.
Duthie Hill and Grand Ridge: You'll see some puddles, but pretty darn good and low elevation. Grand Ridge used to suck in the rain, but recent upgrades have made it a good option winter training rides.
Olallie: Good in the wet, but the fun "lower" part is at 1300 to 2600 feet elevation, so often snowed out.
Saint Edward and Big Finn Hill: Decent local spots in wet weather. A notch below Tokul and BDOS, but great options if you live in the area.
Galbraith: Great in light rain, but when it's really been dumping and the soil is saturated, it's best to give the trails a few days to dry out.
Tiger Mountain: I'm only mentioning Tiger because it's so popular. Rain clouds like to hug the summit, so it's often the wettest spot in the region. With the trail head at 1300 feet, snow is often a factor. The trails can handle wet riding, but you're likely to get soaked. Master Link, Inside Passage, EBAD, Silent Swamp (yeah, really), Joyride, NW Timber, Legend, Megafauna and Predator are decent to good in the wet. A nice, short, mid-elevation route that tops out at 2150 feet and is doable some winters is Master Link > Inside Passage > Joyride or EBAD > NW Timber. Even better are hotlaps on Legend > Megafauna and back up Easy Tiger, but that's a short loop if the higher trails are snowed in.
Raging River: Also mentioned just because it's so popular. Good in light rain, not good if it's really wet. Flow trails like Poppin Tops will puddle more than tech trails, and there are segments in clear cuts that will be miserable in the rain, and are subject to freeze-thaw damage. Give it a day or two to drain after heavy rain, and consider Tokul instead.
How to set up your MTB for riding in the wet
In general, you don't need to do much differently for winter riding than for riding the rest of the year. My winter setup is identical to what I usually ride, except that I'll sometimes run a faster rolling rear tire from June through September.
Tires are Critical
You absolutely need a grippy tire with aggressive tread and soft rubber. Not only are roots slick as snot, rubber gets harder and less grippy as the temps drop.
In the rear you want Maxxis MaxTerra rubber compound, Schwalbe Addix Soft, Specialized T7 or equivalent.

In the front the above compounds work, or step your grip up a notch with Maxxis MaxxGrip, Schwalbe Ultra Soft, E.Thirteen MoPo or Specialized T9. Learn your tires, it's the single biggest performance improvement you can make.
Fenders
You'll want a minimalist front fender, such as the Mucky Nuts. This style fender is durable and unobtrusive, and does a great job minimizing splatter hitting your face. Run these year round, there's not reason not to. No matter what fender your run you'll still get an occasional mud blob flying toward your eyes, so wear eye protection.
Rear fenders are more problematic. Many of us have tried them, and few of us run them. They get in the way when riding low and off the back of your seat, hit your frame in odd ways, and tend to break or fall off. The only rear fender worth considering is the Mudhugger, invented by the Brits who have even soggier weather than we do. Note that it won't work on all bikes.

Get Rid of Aluminum Touch Points
If you want warmer hands and feet switch your brake levers and pedals from aluminum to plastic or carbon fiber. Aluminum is an effective heat sink, but plastic is an insulator that will keep you comfy. I used to run carbon Code levers, but sadly my new Hayes Dominions are aluminum-only.
Brake levers: higher end SRAM, and most Magura brakes can be retrofitted with carbon fiber levers. Any shop can order them for you for about $120. Shimano annoyingly does't offer replacement parts.
Composite pedals: this one is nice since these pedals are cheaper than aluminum. OneUp, Deity and Kona are all Cascadia brands that have excellent composite pedals that sacrifice almost nothing over their aluminum siblings.
Carbon bars: According to Andrew Major from NSMB.com, carbon bars make a big difference in really cold climates, but are the least important cold weather touch point on the milder side of the Cascades. I personally don't do carbon bars, but I'd run them if I lived somewhere frigid.
Night Riding
Weeknight riding in the PNW is essentially night riding with our short and dark winter days. The only thing different about night riding is getting lit, and you can ride pretty much any trail you usually ride in the winter.
Lights: to get started, pick up a helmet mounted LED bike light with at least 1000 lumens. If you're only running one light, helmet mounted is the way to go. Running only a bar light is problematic when turning your bars on twisty trail.
The better setup is to run both a bar and helmet light, with your helmet being the brighter unit with 2000 lumens. The bar light throws nice shadows, and having a second light is a great idea for backup when one of your batteries dies, and batteries tend to die. You don't want to be stuck out on the trail in the dark.

Gemini Duo light mounted to a PNW Range stem.
The ubiquitous MagicShine is the low budget way to get started. The batteries are low quality, and they overstate their brightness, but they should work for a year or two. Going with one of the established brands will be more reliable and less junk in the landfill. Look at Night Rider, Light and Motion, Gemini, Gloworm and any other known brand for good quality LED lights.
You now know everything you need in order to stay comfortable and enjoy wet, winter riding in the PNW. Winter riding is fantastic here, and mountain biking year round does wonders for keeping you sane when it's dismal and dark outside.